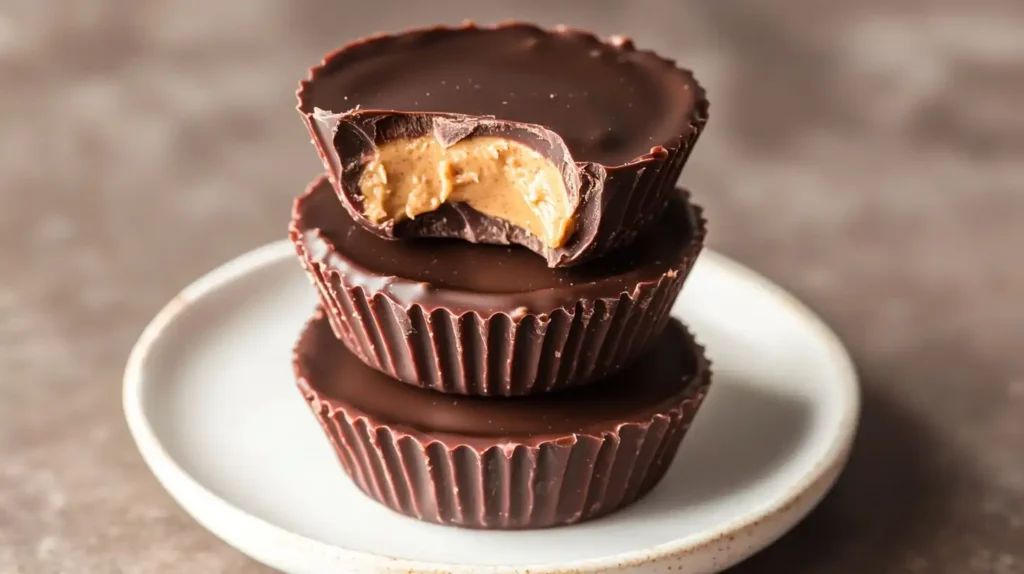
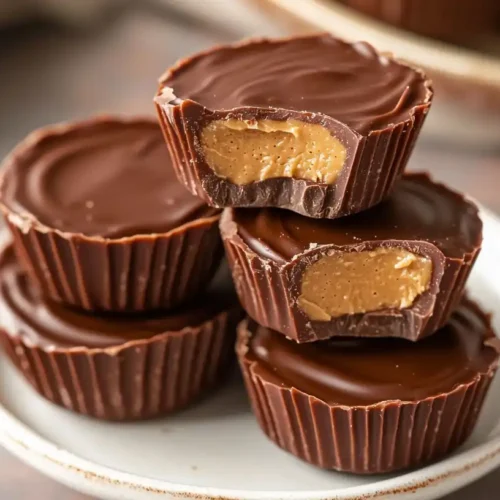
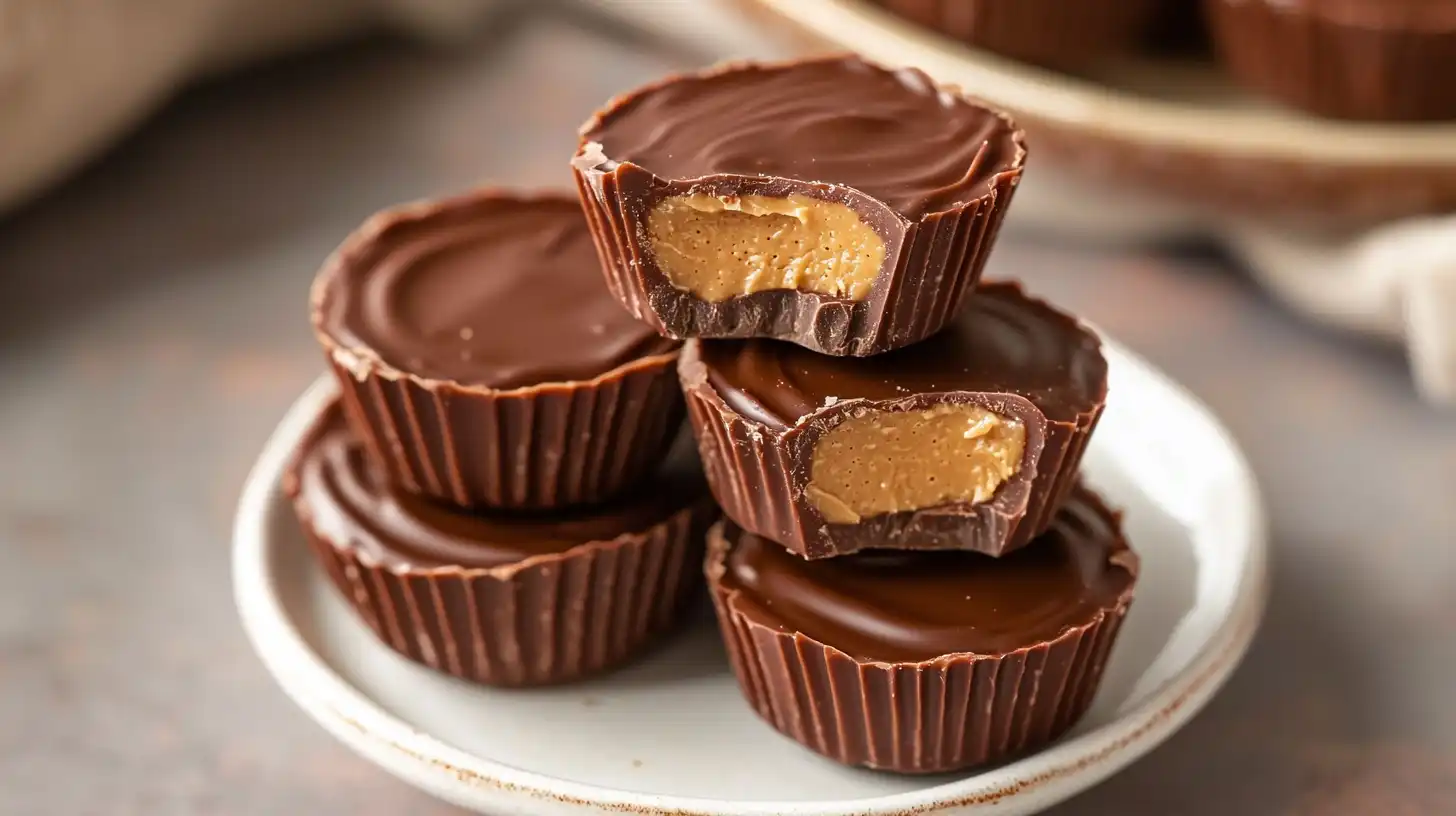
Craving something sweet yet healthy? These incredible Protein Peanut Butter Cups are your perfect answer! They offer a guilt-free way to enjoy a classic treat, packed with protein and completely dairy-free. Quick to prepare with simple ingredients, they’re a smarter candy alternative that satisfies your sweet tooth while giving you a nourishing boost. Say hello to your new favorite go-to snack!
Table of Contents
Why You’ll Love These Protein Peanut Butter Cups
- Quick & Easy: You need minimal effort and absolutely no baking for these delightful high protein peanut butter cups.
- High Protein: They are an excellent way to effortlessly boost your daily protein intake, keeping you feeling full and energized. According to Healthline, adequate protein intake offers numerous health benefits.
- Allergy-Friendly: Naturally dairy-free and gluten-free, this recipe is easily adaptable to suit various dietary needs.
- Versatile Treat: Perfect for a quick snack, a satisfying dessert, or a smart addition to your weekly meal prep.
- Crowd-Pleaser: This delicious protein peanut butter cups recipe is a hit with both kids and adults alike, making them ideal for sharing.
Ingredients
Gather your simple ingredients for these delicious Chocolate Protein Peanut Butter Cups. You only need a few pantry staples to create a truly satisfying treat.
- 1 tablespoon Almond milk
- ½ cup Natural peanut butter
- ¼ cup Vanilla vegan protein powder
- ½ teaspoon Vanilla extract
- ½ cup Mini chocolate chips, dairy-free as needed
- 2 teaspoons Coconut oil
Notes & Substitutions
The right ingredients make all the difference for your homemade protein treats. For peanut butter, choose a natural, creamy variety with a runnier consistency. This helps the filling come together smoothly without being too crumbly. If your peanut butter is very thick, you might need a tiny splash more almond milk.
Your choice of protein powder can impact the texture of these healthy peanut butter cups. Vegan vanilla protein powder is specified for best results, as it often has a smoother texture when mixed. Some whey proteins can make the mixture gummier, so if using, you might need to adjust liquid amounts slightly. For chocolate, always opt for high-quality dairy-free mini chocolate chips to ensure a smooth melt and rich flavor. If you prefer a sweeter cup, consider adding a touch of maple syrup or a few drops of stevia to the peanut butter mixture.

Equipment
You’ll need just a few basic kitchen tools for this delicious high protein-packed peanut butter cup creation.
- Mini silicone muffin molds
- Small saucepan or microwave-safe bowl
- Mixing bowls
- Rubber spatula or spoon
Instructions
Creating your own delicious protein peanut butter cups is incredibly simple. Follow these steps for a perfect batch every time.
Step 1: Melt Chocolate and Coconut Oil Gently
- Begin by melting your dairy-free mini chocolate chips and coconut oil together. You can do this using a small saucepan over very low heat. Stir continuously until most of the chips are melted. Alternatively, use a microwave-safe bowl, heating in 20-second intervals and stirring well after each, until smooth. Remove the mixture from the heat while a few small lumps of chocolate remain; the residual heat will melt them completely as you stir. This prevents burning and keeps the chocolate smooth and glossy.
Step 2: Combine Peanut Butter, Protein Powder, and Liquid
- In a separate mixing bowl, combine the natural peanut butter, vanilla vegan protein powder, vanilla extract, and almond milk. Mix these ingredients thoroughly using a spoon or rubber spatula. Continue mixing until the mixture forms a thick, cohesive dough-like consistency. It should be firm enough to handle but still slightly pliable. This creates the delicious center for your protein peanut butter cups.
Step 3: Press Peanut Butter Mixture into Molds
- Take small portions of the peanut butter mixture and firmly press them into the bottom of your mini silicone muffin molds. Use your fingertips or the back of a small spoon to ensure the mixture is tightly packed and evenly distributed. Press down hard to compact it well; this helps the cups hold their shape once set. Aim for a layer that is about a quarter to a third of the mold’s height.
Step 4: Pour Melted Chocolate on Top; Freeze to Set
- Once the peanut butter bases are in place and the chocolate mixture is fully melted and smooth, carefully divide and pour the melted chocolate over each peanut butter cup layer. Fill the molds almost to the top. Gently tap the muffin mold tray on your counter a few times to help the chocolate settle evenly and release any air bubbles. Immediately transfer the molds to the freezer and chill for at least 15-20 minutes, or until the chocolate is completely firm. Your dairy-free Protein Peanut Butter Cups are ready to enjoy!
Pro Tips & Troubleshooting
To achieve perfect protein treats every time:
- Mix thoroughly – Combine the protein filling until smooth to prevent a gritty texture.
- Adjust consistency – Add a small splash of almond milk if too thick, or ½ teaspoon of protein powder if too runny.
- Melt chocolate carefully – Use low heat or short microwave bursts to avoid scorching and clumping.
- Freeze patiently – Allow the cups to firm up completely in the freezer for easy removal.
- Thaw before serving – Let your Protein Peanut Butter Cups sit for 5–10 minutes before eating for a creamy, smooth center.
Serving, Storage & Variations
Enjoying your protein-rich peanut butter cups is a delightful experience. Serve these homemade delights chilled straight from the fridge or freezer, or let them sit at room temperature for a few minutes for a softer texture.
For a fun presentation, arrange them on a small platter or pop them into decorative mini cupcake liners. They make fantastic grab-and-go snacks or a simple, elegant dessert.
Storage Instructions
Proper storage keeps your delicious Protein Peanut Butter Cups fresh and tasty.
- Refrigeration: Store your cups in an airtight container in the refrigerator for up to 1 week.
- Freezing: For longer storage, place them in an airtight freezer-safe container or bag. They will keep well for up to 2 months.
- Thawing: When ready to enjoy frozen cups, simply remove them from the freezer. You can eat them directly from frozen for a firmer treat, or let them thaw for 5-10 minutes at room temperature for a creamier bite.
Creative Variations
Get creative with your Chocolate Protein Peanut Butter Cups!
- Nut Butters: Experiment with different nut butters like almond butter or cashew butter for unique flavors. Crunchy peanut butter adds a lovely textural element.
- Toppings: Sprinkle a pinch of sea salt on top of the melted chocolate before setting for a gourmet touch. Add colorful sprinkles for a festive look or a drizzle of dairy-free caramel sauce.
- Chocolate Types: Change up the chocolate! Use dairy-free white chocolate chips for a different aesthetic, or go with extra dark chocolate for a less sweet, richer flavor. Sugar-free chocolate options are also great for reduced sugar versions.
Nutrition Information
Each of these satisfying Protein Peanut Butter Cups offers a great balance of macros to fuel your day. They are particularly noteworthy for their significant protein content, making them a smart choice for a snack or dessert.
| Nutrient | Amount |
|---|---|
| Calories | 232 kcal |
| Carbohydrates | 15 g |
| Protein | 9 g |
| Fat | 16 g |
| Saturated Fat | 5 g |
| Polyunsaturated Fat | 3 g |
| Monounsaturated Fat | 6 g |
| Trans Fat | 0.03 g |
| Cholesterol | 2 mg |
| Sodium | 151 mg |
| Potassium | 122 mg |
| Fiber | 1 g |
| Sugar | 12 g |
| Vitamin A | 34 IU |
| Vitamin C | 0.1 mg |
| Calcium | 34 mg |
| Iron | 1 mg |
Disclaimer: Nutritional values are estimated and can vary based on specific brands and ingredient measurements. For precise values, calculate your own based on the products you use.
Frequently Asked Questions
Can protein powder be mixed directly into peanut butter?
Yes, absolutely! The best way to make the filling is by mixing the protein powder directly into the peanut butter, along with a bit of liquid, to create a smooth, pliable dough.
What’s the best way to store these protein peanut butter cups?
For optimal freshness and texture, store your Protein Peanut Butter Cups in an airtight container in the refrigerator for up to a week, or freeze them for longer storage.
Can white chocolate chips be used in this recipe?
Definitely! Dairy-free white chocolate chips are a fantastic alternative and will give your cups a beautiful, lighter appearance and a different flavor profile.
Is whey protein a suitable alternative for vegan protein powder?
You can use whey protein, but be aware that it might alter the texture slightly, potentially making the filling gummier. You may need to adjust the amount of almond milk to achieve the right consistency.
Final Thoughts
These delightful Protein Peanut Butter Cups offer a perfect blend of indulgence and nutrition, proving that healthy treats can be incredibly satisfying. With their easy preparation and wholesome ingredients, they make a fantastic addition to any busy lifestyle. Say goodbye to sugary cravings and hello to a protein-packed snack that you can feel great about enjoying. Give these simple high protein Peanut Butter Cups a try today, and don’t forget to share your delicious creations with our community!

The Best Protein Peanut Butter Cups Recipe – 4 Easy Steps
Equipment
- Saucepan
- Mixing Bowl
- Mini silicone muffin molds
Ingredients
Peanut Butter Mixture
- 1 tbs Almond milk
- ½ cup Natural peanut butter
- ¼ cup Vanilla vegan protein powder
- ½ teaspoon Vanilla extract
Chocolate Topping
- ½ cup Mini chocolate chips dairy-free, as needed
- 2 teaspoon Coconut oil
Instructions
Preparation
- Gently melt coconut oil and dairy-free chocolate chips together over low heat, removing from heat just before fully melted.
Assembly
- While the chocolate melts, combine peanut butter, protein powder, vanilla extract, and almond milk in a separate bowl.
- Firmly press the peanut butter mixture into mini silicone muffin molds to ensure they hold their shape.
- Pour the melted chocolate evenly over the peanut butter base in each mold, then freeze until fully set.

